
What are Some Techniques for Paper Quilling?
Hey there, craft enthusiasts! If you’ve ever wondered, “What are some techniques for paper quilling?” you’re in the right place. Paper quilling is a delightful and intricate art form that involves rolling, shaping, and arranging strips of paper into stunning designs. In this comprehensive guide, we’re going to explore a wide range of techniques to elevate your paper quilling game. So, roll up your sleeves and let’s dive in!
Introduction: Unveiling the Art of Paper Quilling
Paper quilling, also known as paper filigree, is an art form that traces its origins back to the Renaissance period. It involves the meticulous manipulation of paper strips to create intricate designs, patterns, and even 3D structures. This fascinating craft has gained popularity worldwide, captivating the hearts of artists and hobbyists alike.
So, whether you’re a seasoned quiller or a complete newbie, there’s always something new to learn in the world of paper quilling. Let’s explore the techniques that can take your quilling projects to the next level.
Getting Started: Basic Supplies for Paper Quilling
Before we delve into the techniques, let’s ensure you have the essential tools to embark on your paper quilling journey:
1. Paper Strips
Get your hands on some high-quality quilling paper strips. They come in various colors and sizes, making them perfect for different projects.
2. Quilling Needle or Tool
A quilling needle or tool helps you roll and shape the paper strips with precision. It’s a must-have in your quilling kit.
3. Glue
Choose a clear-drying, strong adhesive to hold your quilled shapes together. A fine-tip applicator can be handy for precise gluing.
4. Quilling Board
A quilling board provides a uniform and neat shape to your coils. It’s particularly useful for making consistent shapes.
5. Tweezers
Tweezers assist in handling delicate quilled pieces and positioning them precisely on your projects.
6. Ruler and Cutting Mat
These tools are crucial for measuring and cutting paper strips accurately.
Now that you’re armed with the basics, let’s dive into the fascinating techniques of paper quilling.
Rolling and Coiling Techniques
 1. Tight Coil
 1. Tight Coil
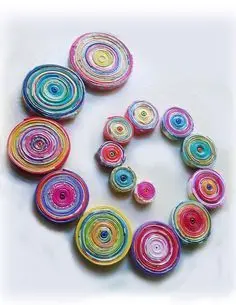
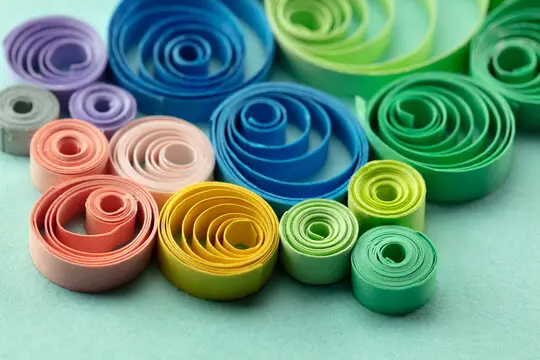
The tight coil is the foundation of paper quilling. Roll a paper strip tightly using your quilling tool, and you’ll have a basic coil ready for various designs.
 2. Loose Coil
 2. Loose Coil
For a more relaxed look, roll the paper strip loosely. This technique adds depth and dimension to your quilled creations.
 3. Teardrop Coil
 3. Teardrop Coil
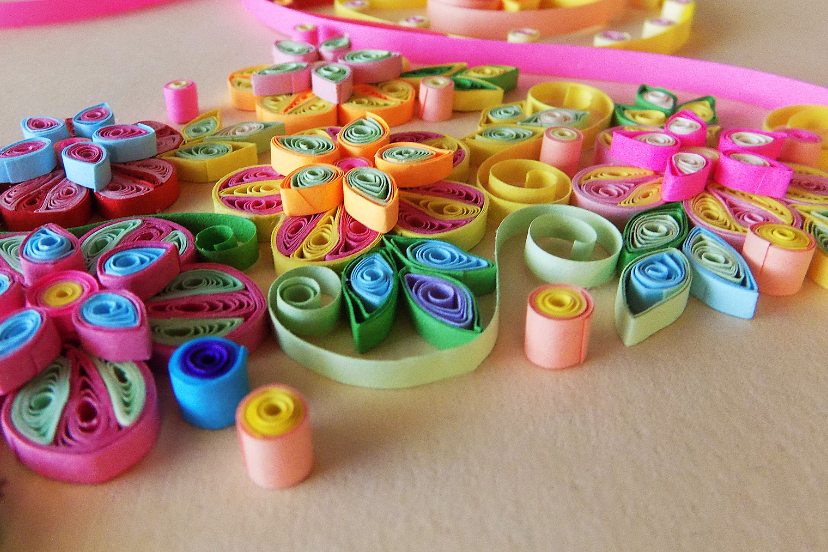
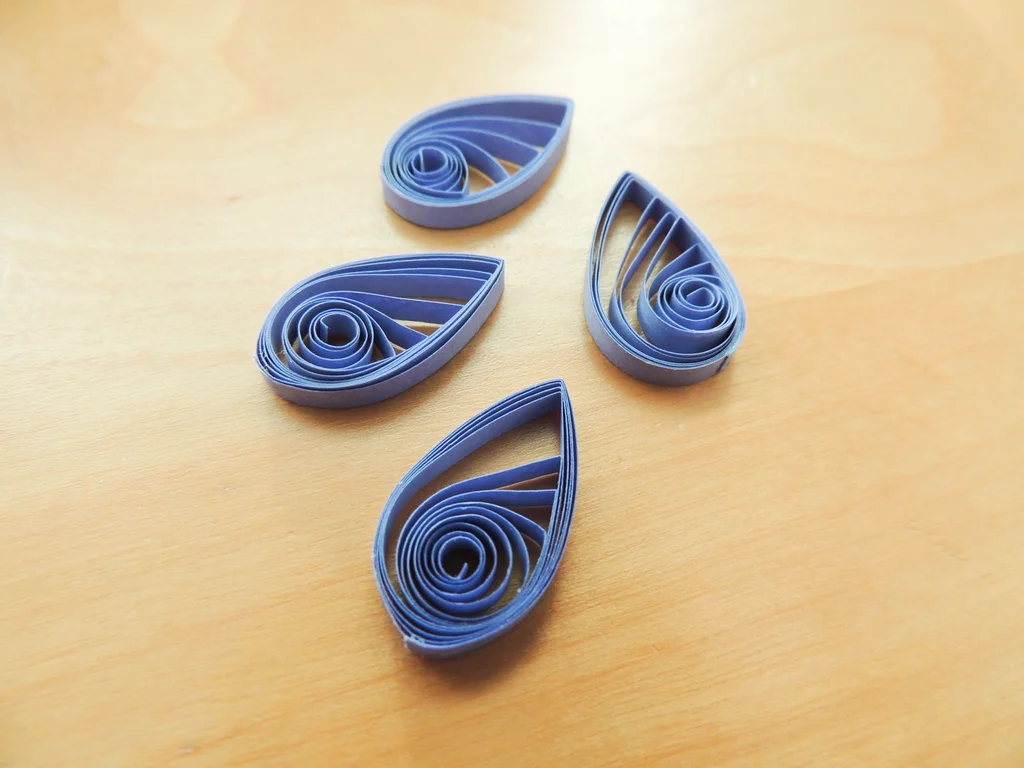
Shape your coil into a teardrop by pinching one end gently. Teardrop coils are excellent for creating flower petals and leaves.
 4. Marquise Coil
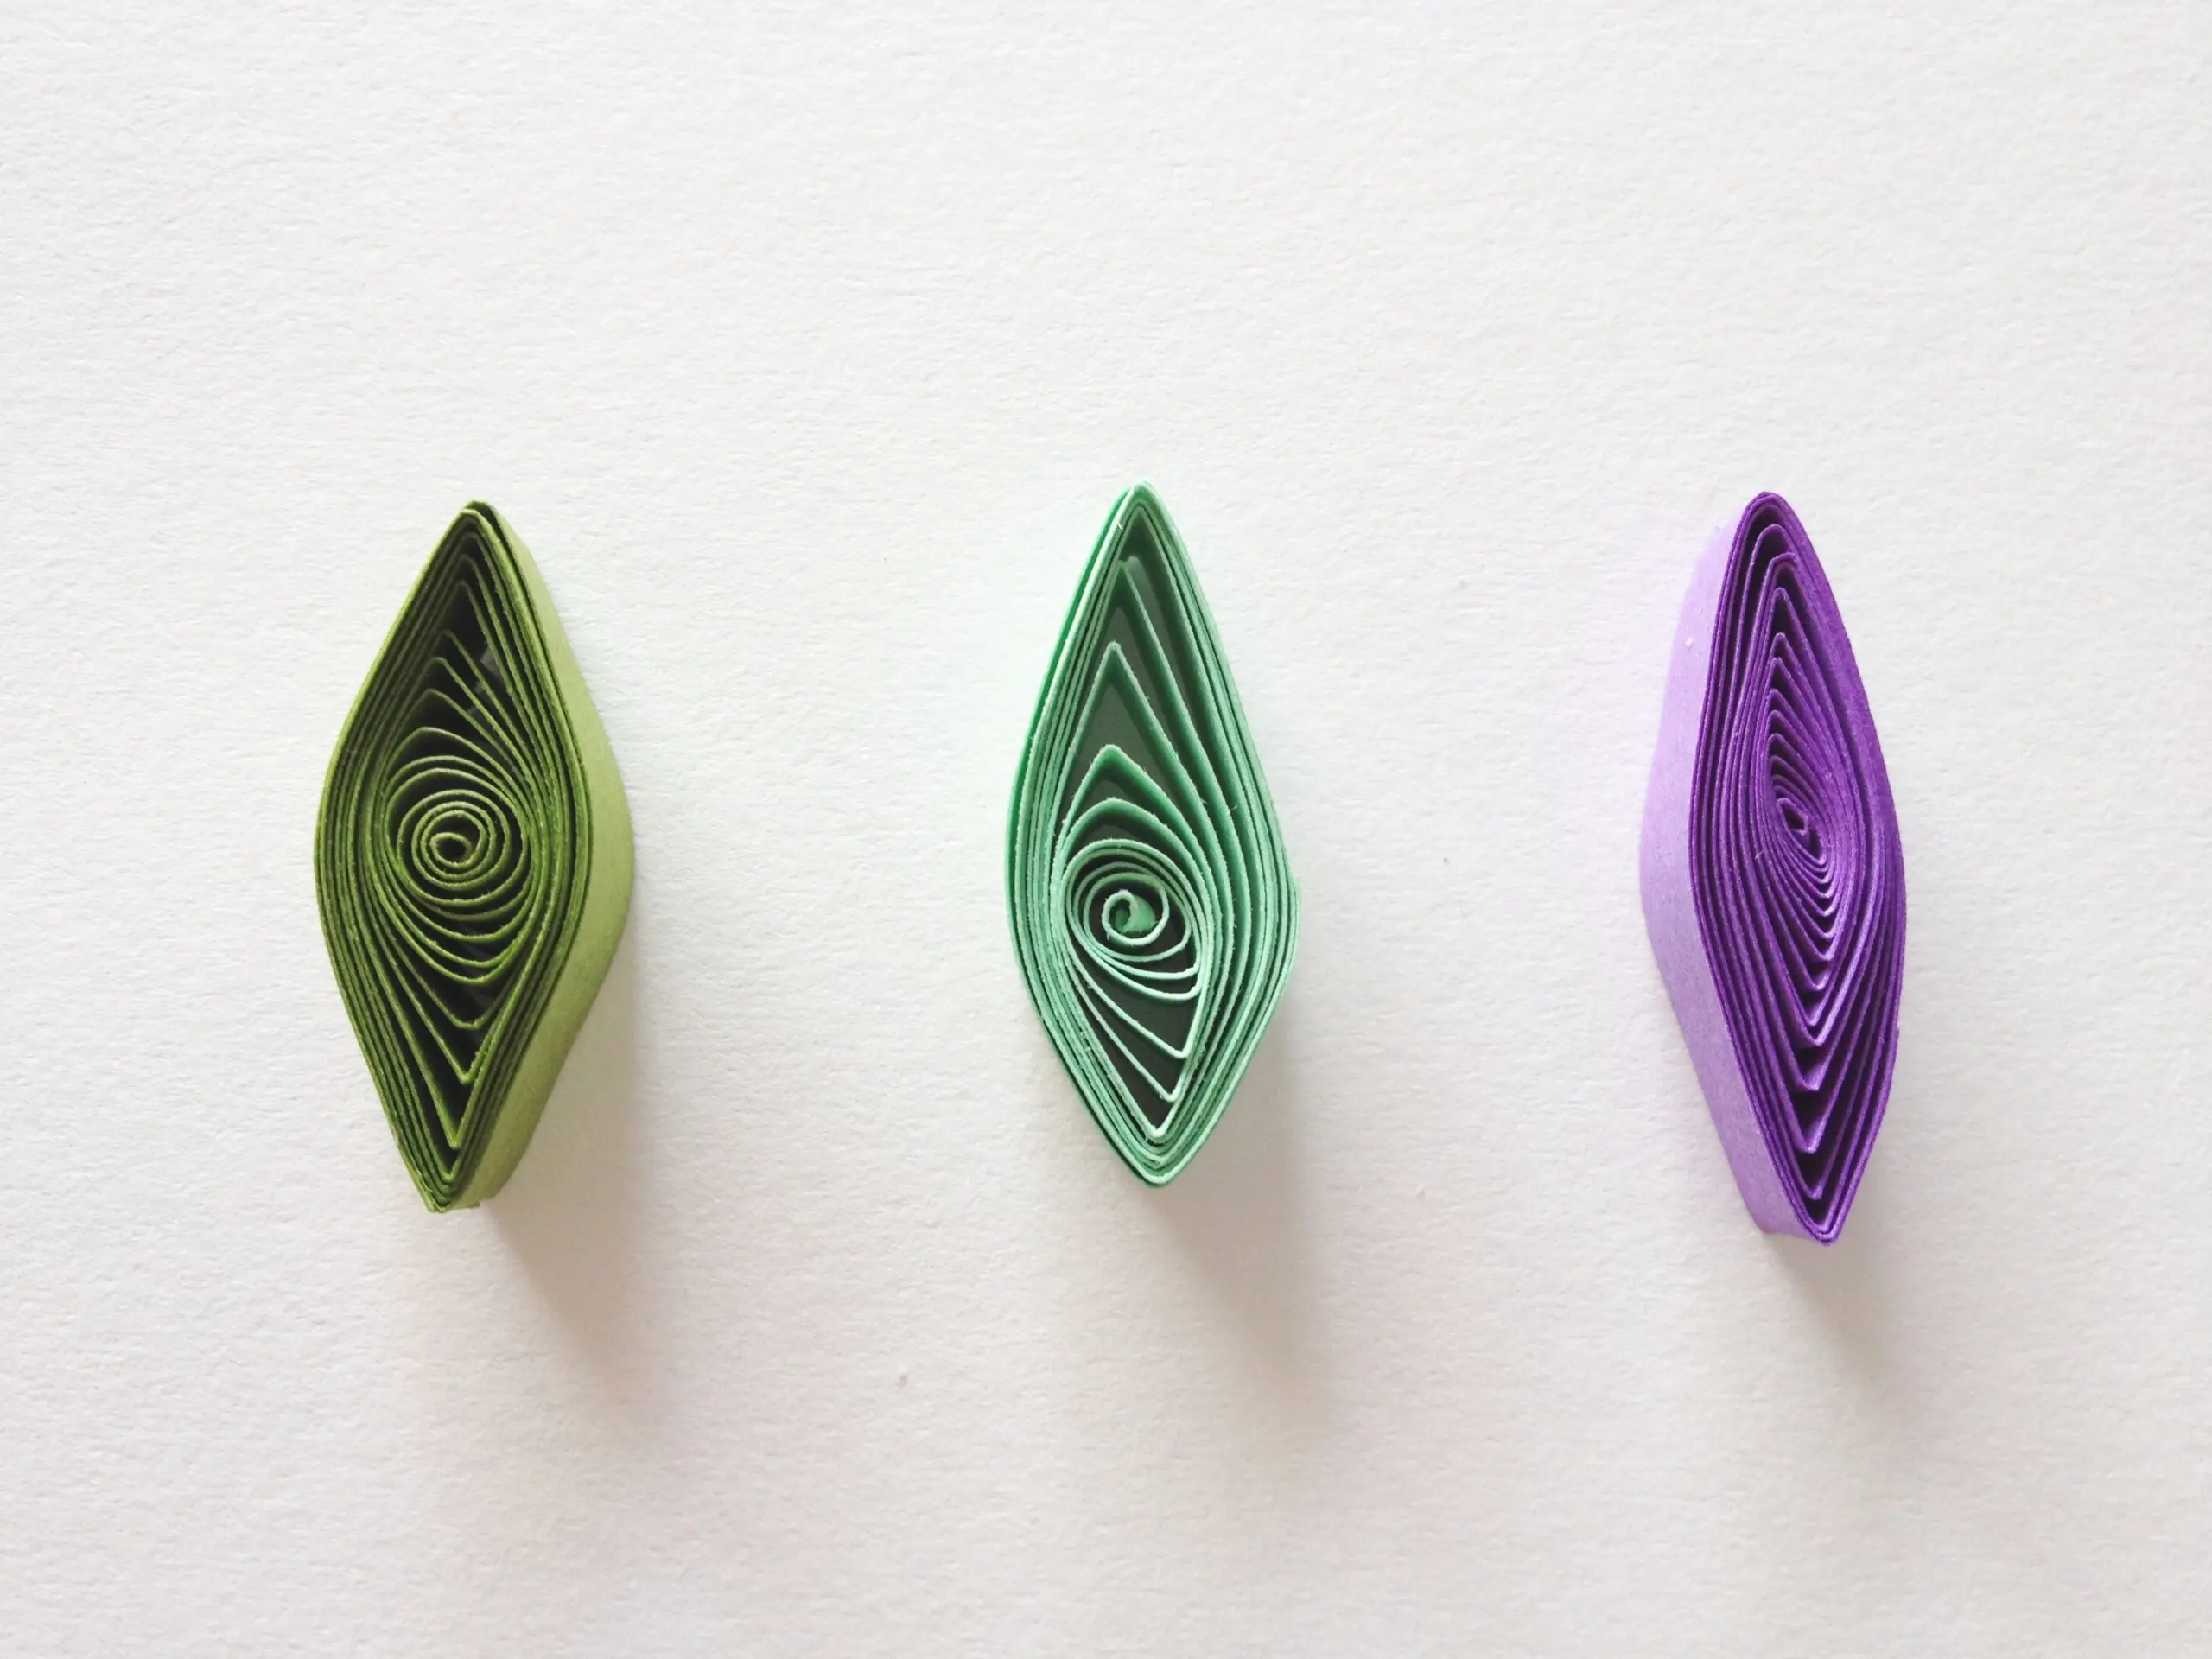 4. Marquise Coil
Similar to the teardrop coil, the marquise coil involves pinching both ends of the coil to create an elongated, pointed shape.
Shaping and Forming Techniques
 5. Crimping
 5. Crimping
Create textured effects by crimping your paper strip before rolling it into a coil. This technique is perfect for mimicking flower centers and animal fur.
6. Husking
Husking involves arranging multiple tight coils in a circular pattern. This technique is ideal for crafting beautiful mandala designs.
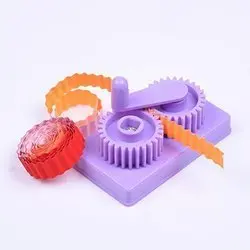
7. Quilling Comb
Use a quilling comb to create intricate and uniform patterns. It’s a versatile tool that offers endless design possibilities.
 8. Fringing
 8. Fringing
Transform your quilled strips into delicate fringes by making small, even cuts along the edges. Fringed strips are fantastic for creating grass, hair, and more.
Advanced Techniques for Paper Quilling
9. 3D Quilling
Take your quilling to new heights by crafting 3D sculptures. This technique involves creating multiple shapes and joining them to form intricate structures.
10. Quilling on Edge
Experiment with quilling on the edge of paper strips to create unique and eye-catching designs.
11. Quilled Typography
Combine the art of quilling with lettering to craft personalized pieces of art. This technique allows you to express messages and sentiments creatively.
12. Quilled Jewelry
Design stunning accessories like earrings and pendants by incorporating quilled elements. Seal them with a protective coating for durability.
Troubleshooting Common Quilling Challenges
13. Preventing Unraveling
To avoid your coils from unraveling, ensure you use an adequate amount of glue at the end of the strip and let it dry completely.
14. Fixing Uneven Coils
If your coils are uneven, gently reshape them using your quilling tool or fingers until they are uniform.
15. Dealing with Stuck Coils
If a coil gets stuck on your quilling tool, use tweezers to carefully release it without damaging the paper.
FAQs: Your Quilling Queries Answered
Q1: What paper is best for quilling?
A1: Quilling paper, specifically designed for the craft, is the best choice due to its weight, texture, and color variety.
Q2: Can I use regular paper for quilling?
A2: While it’s possible, regular paper is less ideal because it’s often too thick and lacks the texture required for quilling.
Q3: What’s the difference between tight coils and loose coils?
A3: Tight coils are rolled closely for a solid appearance, while loose coils are rolled more loosely for a softer, relaxed look.
Q4: How do I add quilled elements to greeting cards?
A4: Simply glue your quilled designs onto the card, ensuring they are securely attached.
Q5: Can I paint my quilled creations?
A5: Yes, you can paint your quilled art with acrylic or watercolors once it’s completely dry.
Q6: How do I protect my quilled jewelry from damage?
A6: Apply a clear sealant or resin to your quilled jewelry to protect it from moisture and wear.
Conclusion: Mastering the Art of Paper Quilling
Congratulations! You’ve journeyed through the world of paper quilling and discovered an array of techniques to expand your creative horizons. Remember that practice makes perfect, so don’t be discouraged if your first attempts don’t turn out exactly as planned.
With the right tools, a dash of patience, and a sprinkle of creativity, you can create intricate quilled masterpieces that will leave everyone in awe. So, go ahead, quill your heart out, and share your unique creations with the world. Happy quilling!
In this article, we’ve answered the question, “What are some techniques for paper quilling?” and provided you with a comprehensive guide to mastering this captivating craft. Whether you’re a novice or an experienced quiller, these techniques will help you take your paper quilling projects to the next level. So, grab your quilling tools and let your creativity flow!
Now, go ahead and explore the fascinating world of paper quilling. Your next masterpiece awaits!


